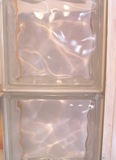
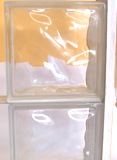
Glass Block Wall Installation
Assembly of a Framed or Frameless Glass Block wall is simple. Here at DIY Glass Blocks we provide you with everything* that is needed to install your Glass Block wall. We even supply you with the installation kit if you already have the Glass Blocks.
Installation is a simple step or should we say layer by layer process
 
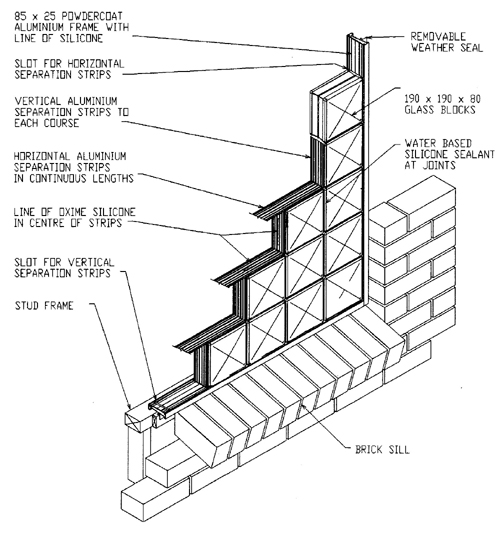
Framed Glass Block Installation - External wall
- Assemble the frame and fasten in the opening, ensure that the frame is square and level. Fasten the frame at approx. 400 mm centres ensuring that the fasteners do not protude.
- Run a generous bead of silicone across the centre of the bottom frame and up the sides to the first mortise slot. Bed in the first glass block into the silicone starting from one end, Apply silicone to the exposed vertice side of the block , place a vertical strip against the exposed silicone, repeat this process for the first layer.
- Place a continous bead of silicone along the weld of each glass block. Position the horizontal seperation strip in the slots provided in the side frames and lock the glass blocks into place. Ensure that the first row of blocks is centred and level.
-
- Continue these steps for each layer, until the final layer level is reached.
- Line the top of the frame with a generous bead of silicone. Working towards the centre from each side, install the blocks. No vertical seperation strips are required with the last layer
- Apply sealant to all joints , using a wet sponge clean off excess sealant, to ensure a smooth neat finish.
- When all sealant is dry , buff and polish the glass wall.
Frameless Glass Block Wall Installation

- Ensure the opening is square and level, and the correct size. Ensuring that any fasteners do not protude.
- Run a generous bead of silicone adhesive across the centre of the bottom of the frame and up the sides to the top of the first block level
- Bed in the first glass block into the silicone adhesive starting from one end, Apply silicone to the exposed verticle side of the block , place a vertical strip against the exposed silicone, repeat this process for the first layer.
- Place a continous bead of silicone along the weld of each glass block. Position the horizontal seperation strip in the slots provided in the side frames and lock the glass blocks into place. Ensure that the first row of blocks is centred and level.
-
- Continue these steps for each layer, until the final layer level is reached.
- Line the top of the frame with a generous bead of silicone. Working towards the centre from each side, install the blocks. No vertical seperation strips are required with the last layer
- Apply sealant to all joints , using a wet sponge clean off excess sealant, to ensure a smooth neat finish.
- When all sealant is dry , buff and polish the glass wall.
|